

Bushings
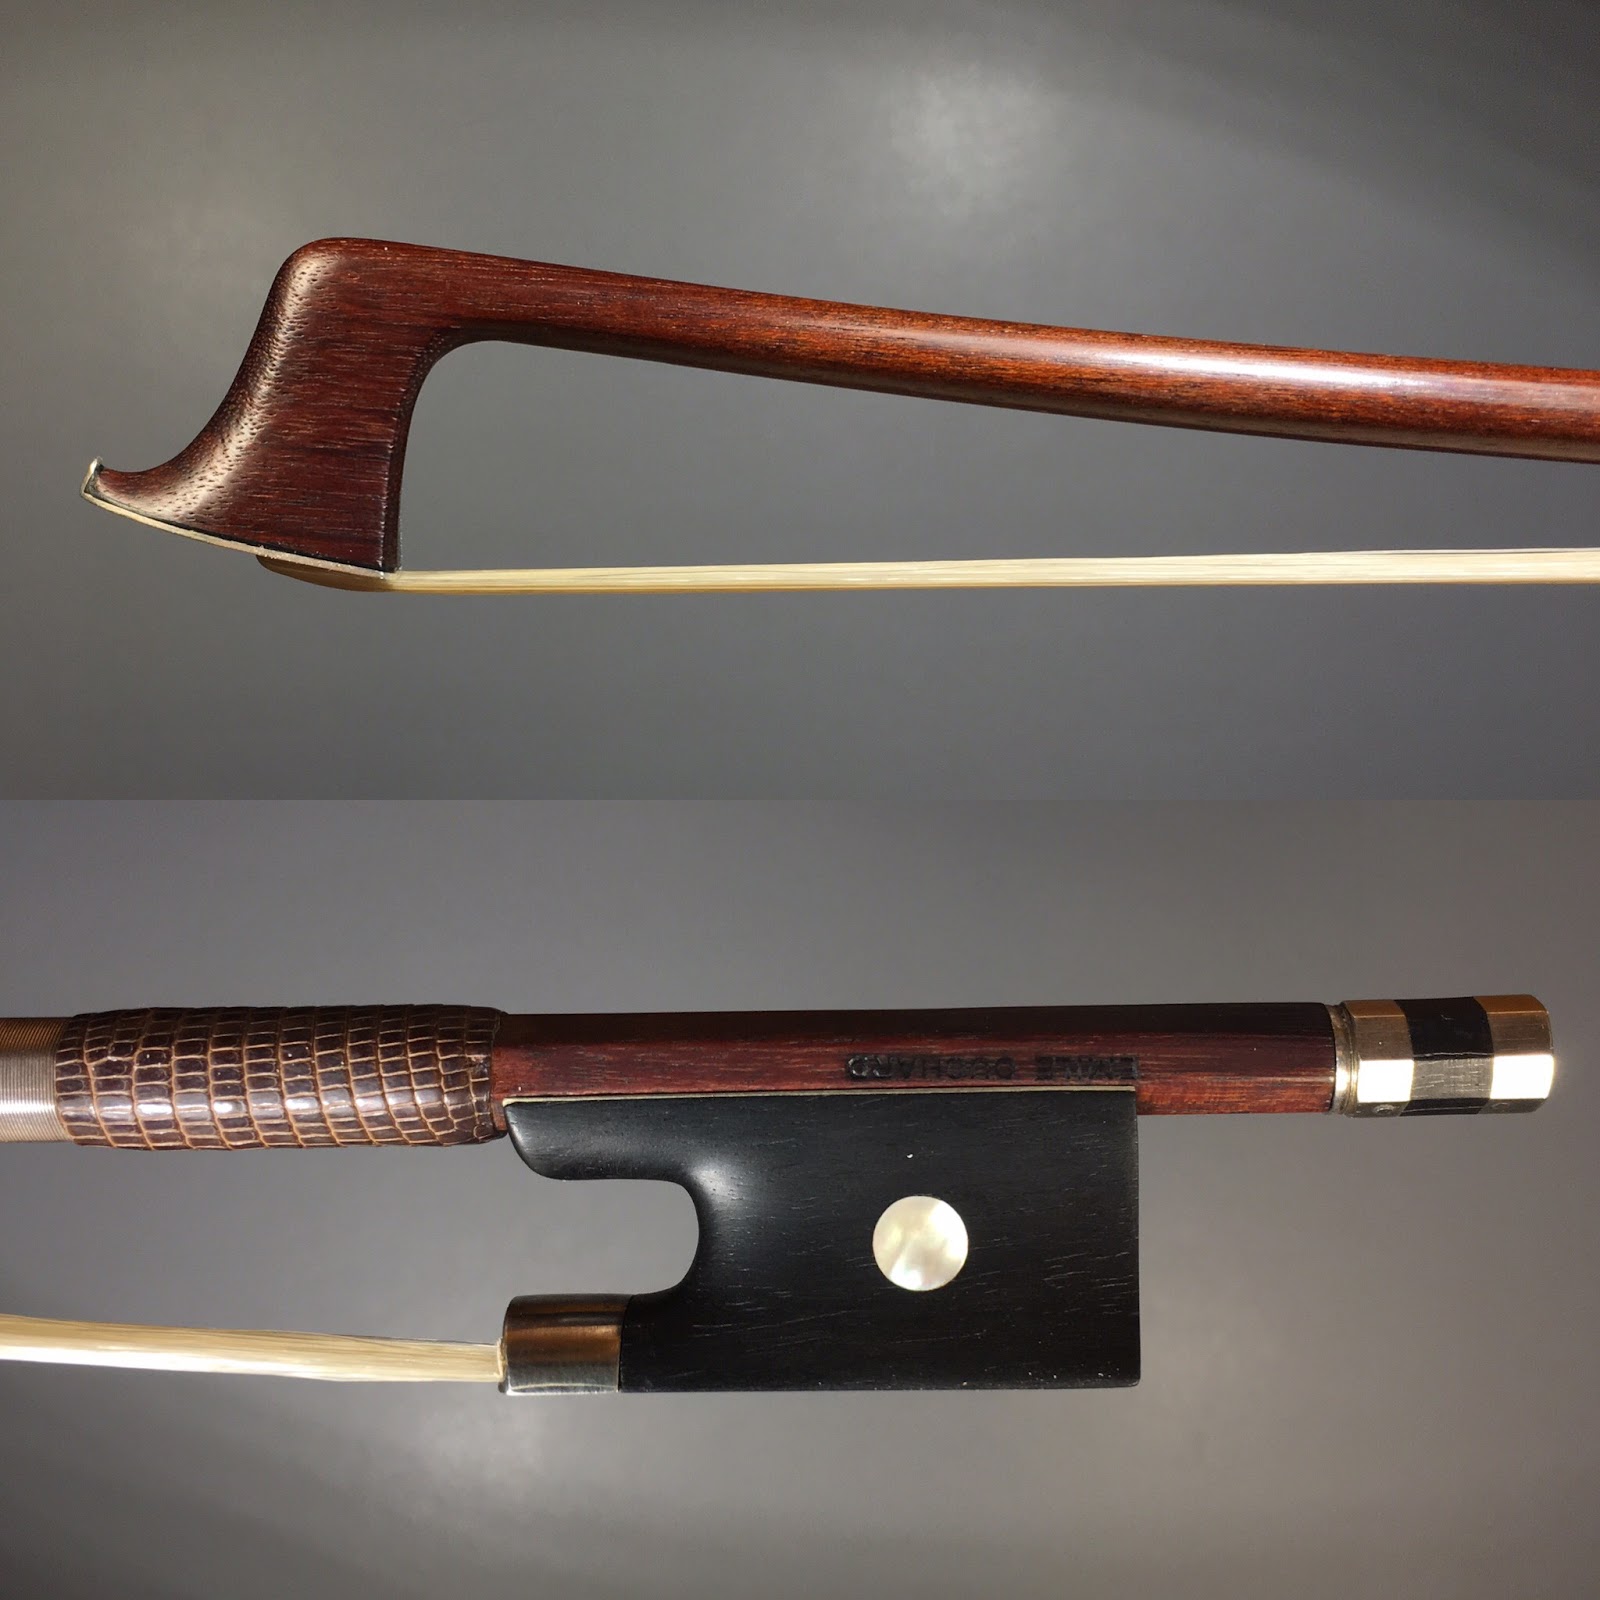
A violin bow was recently brought in for some rehabilitation. Both holes for the screw and button were most likely vandalized by an unqualified technician. Instead of filing and adjusting the replaceable brass eyelet to get everything to work correctly, original wood was removed from the bow to give enough play for the bow to tighten. I can’t stress enough the importance of finding a quality bow technician.

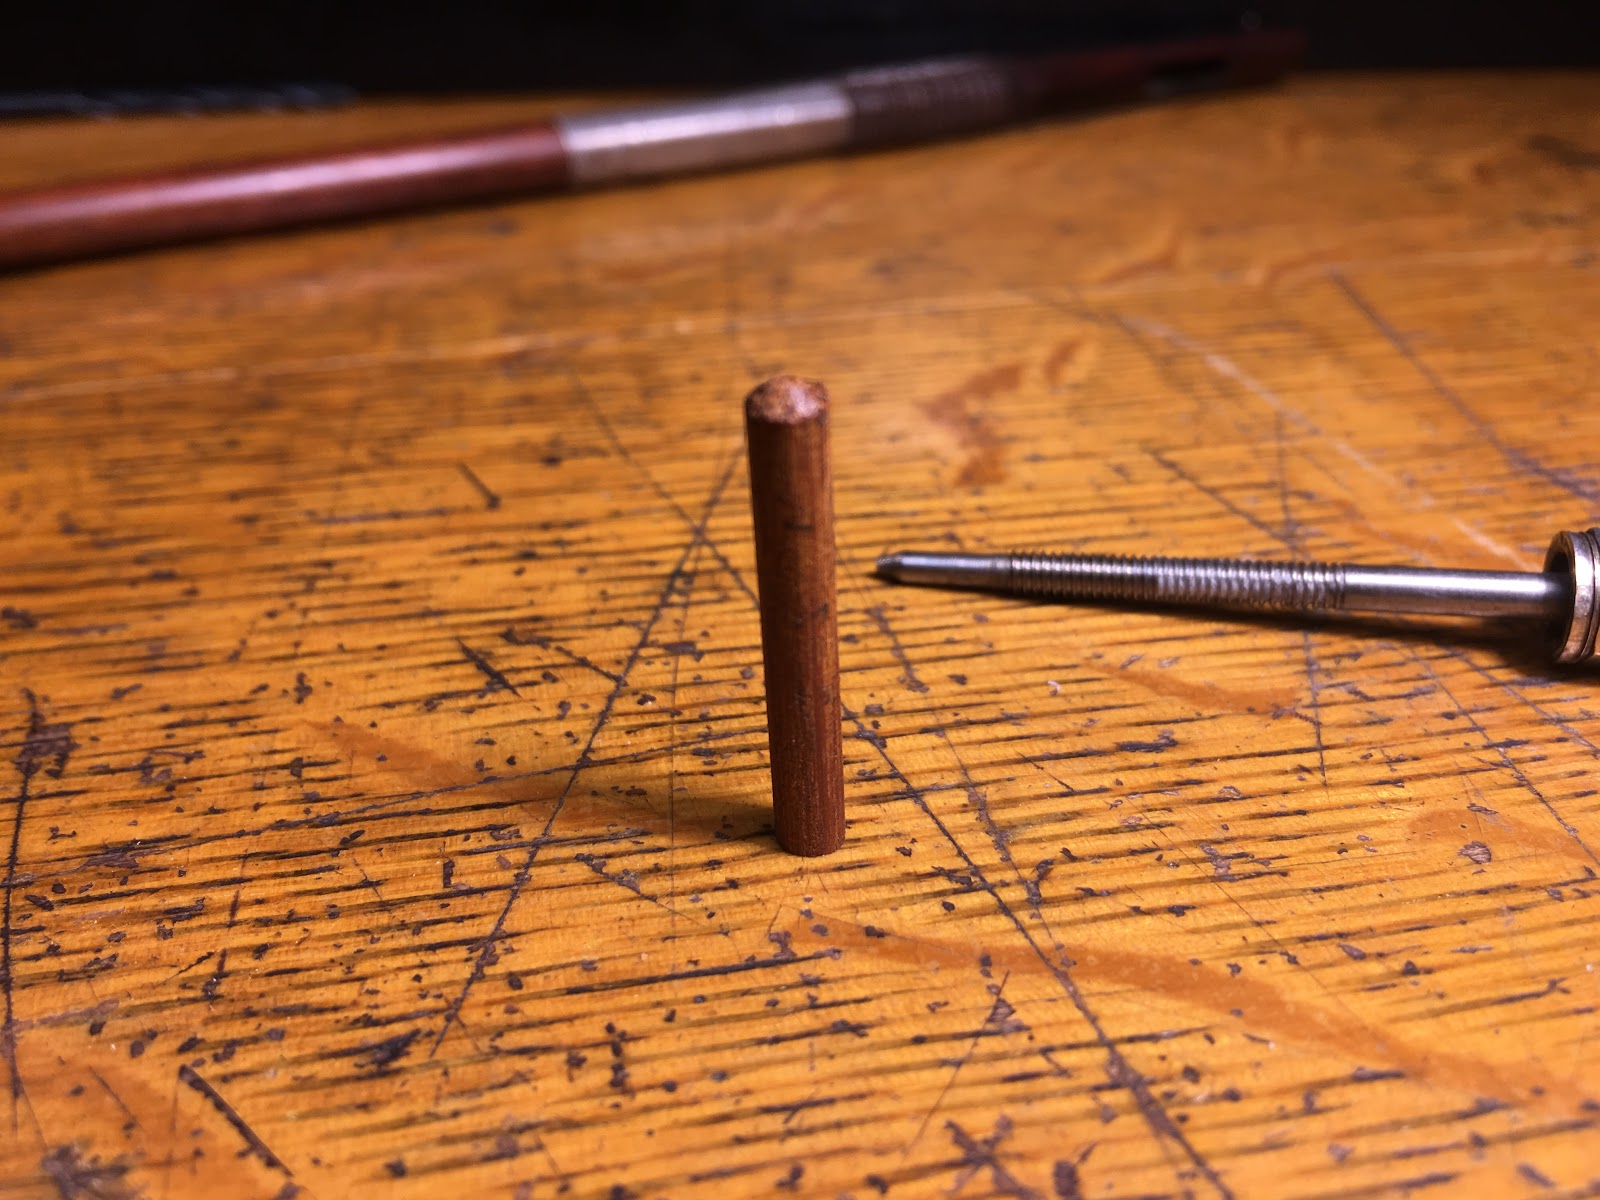
Making the Bushings
Using the lathe, a couple of pernambuco dowels were turned down to the sizes that I will be using for bushings. I purposefully leave a taper on the end to match my drill to get a full, firm seating.
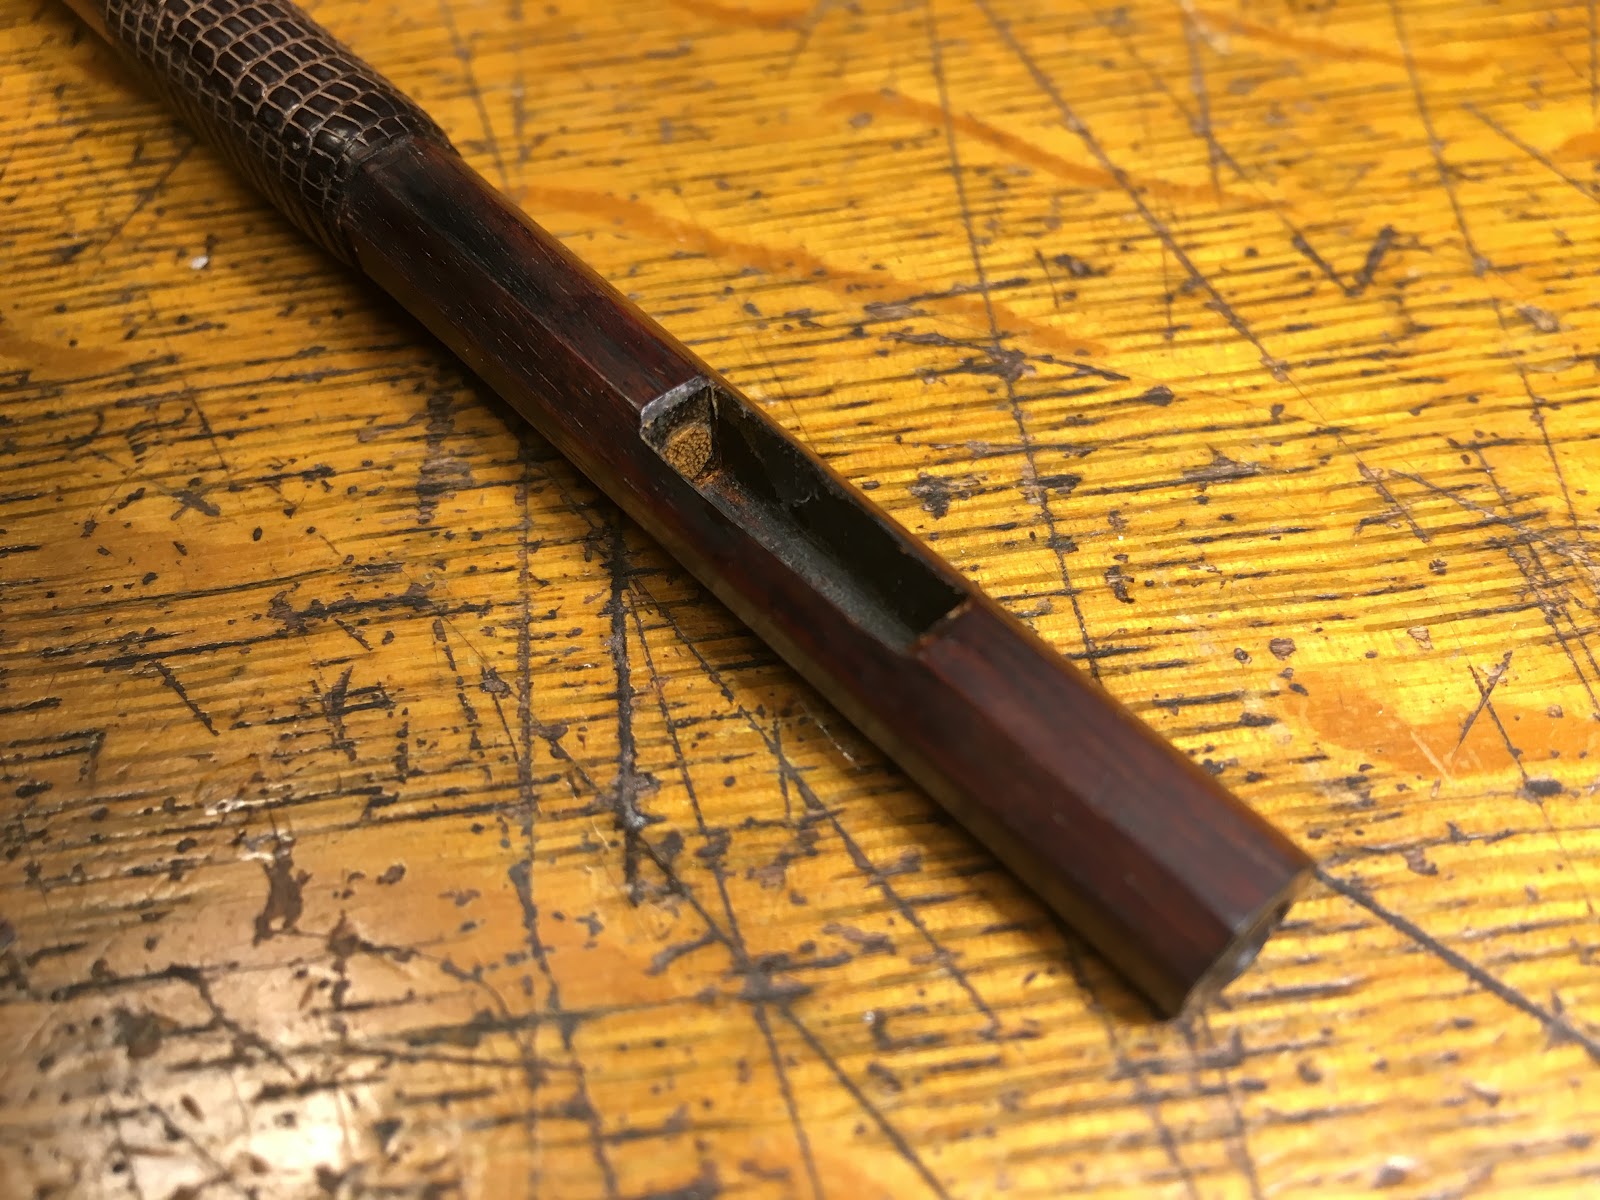
Front Hole Bushing
For the front hole of this bow, the bowmakers foret was utilized because of its sensitivity and safety. The hole was already drilled oversized when I got it, I just cleaned up the shape and depth to accept the pernambuco dowel. Little lines are scored on the side of the dowel to allow for excess glue to escape and ensure a positive fit. Once the glue was dried, the dowel was chiseled flush with the end of the mortice. The new hole will be drilled later to accept the front of the screw.
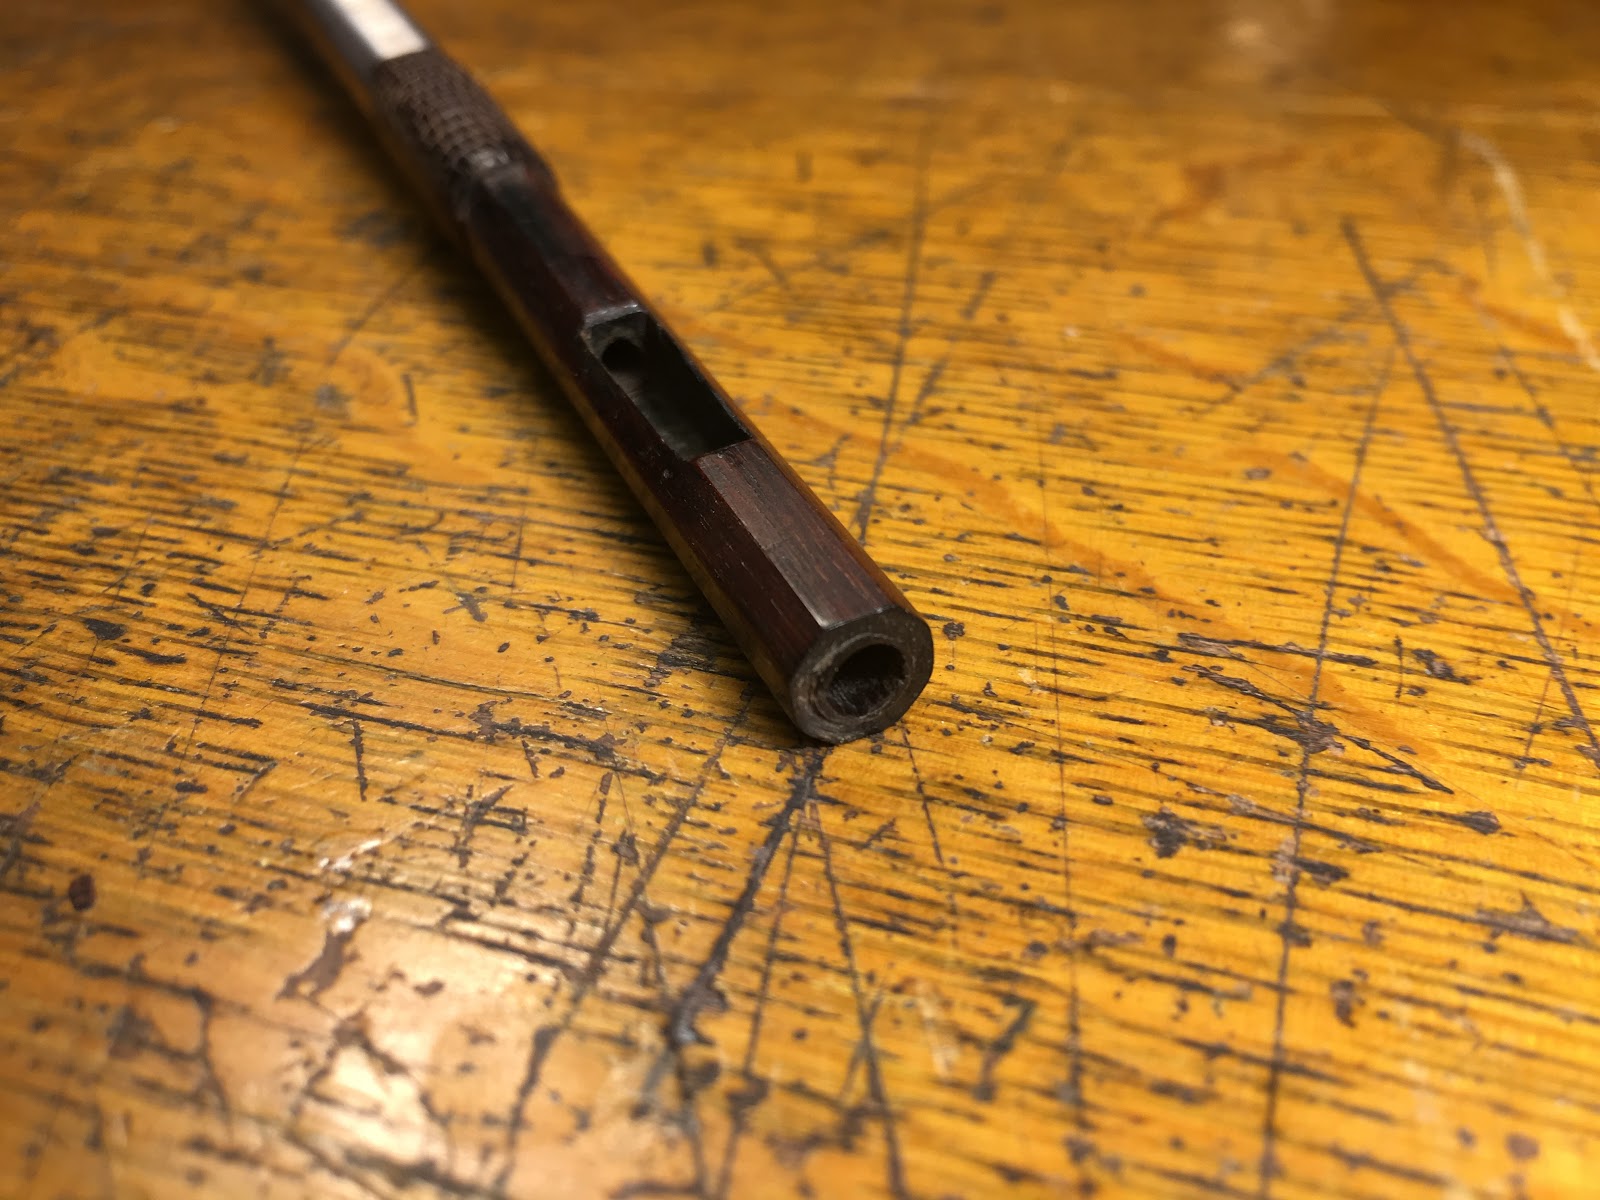
Rear Hole and Nipple
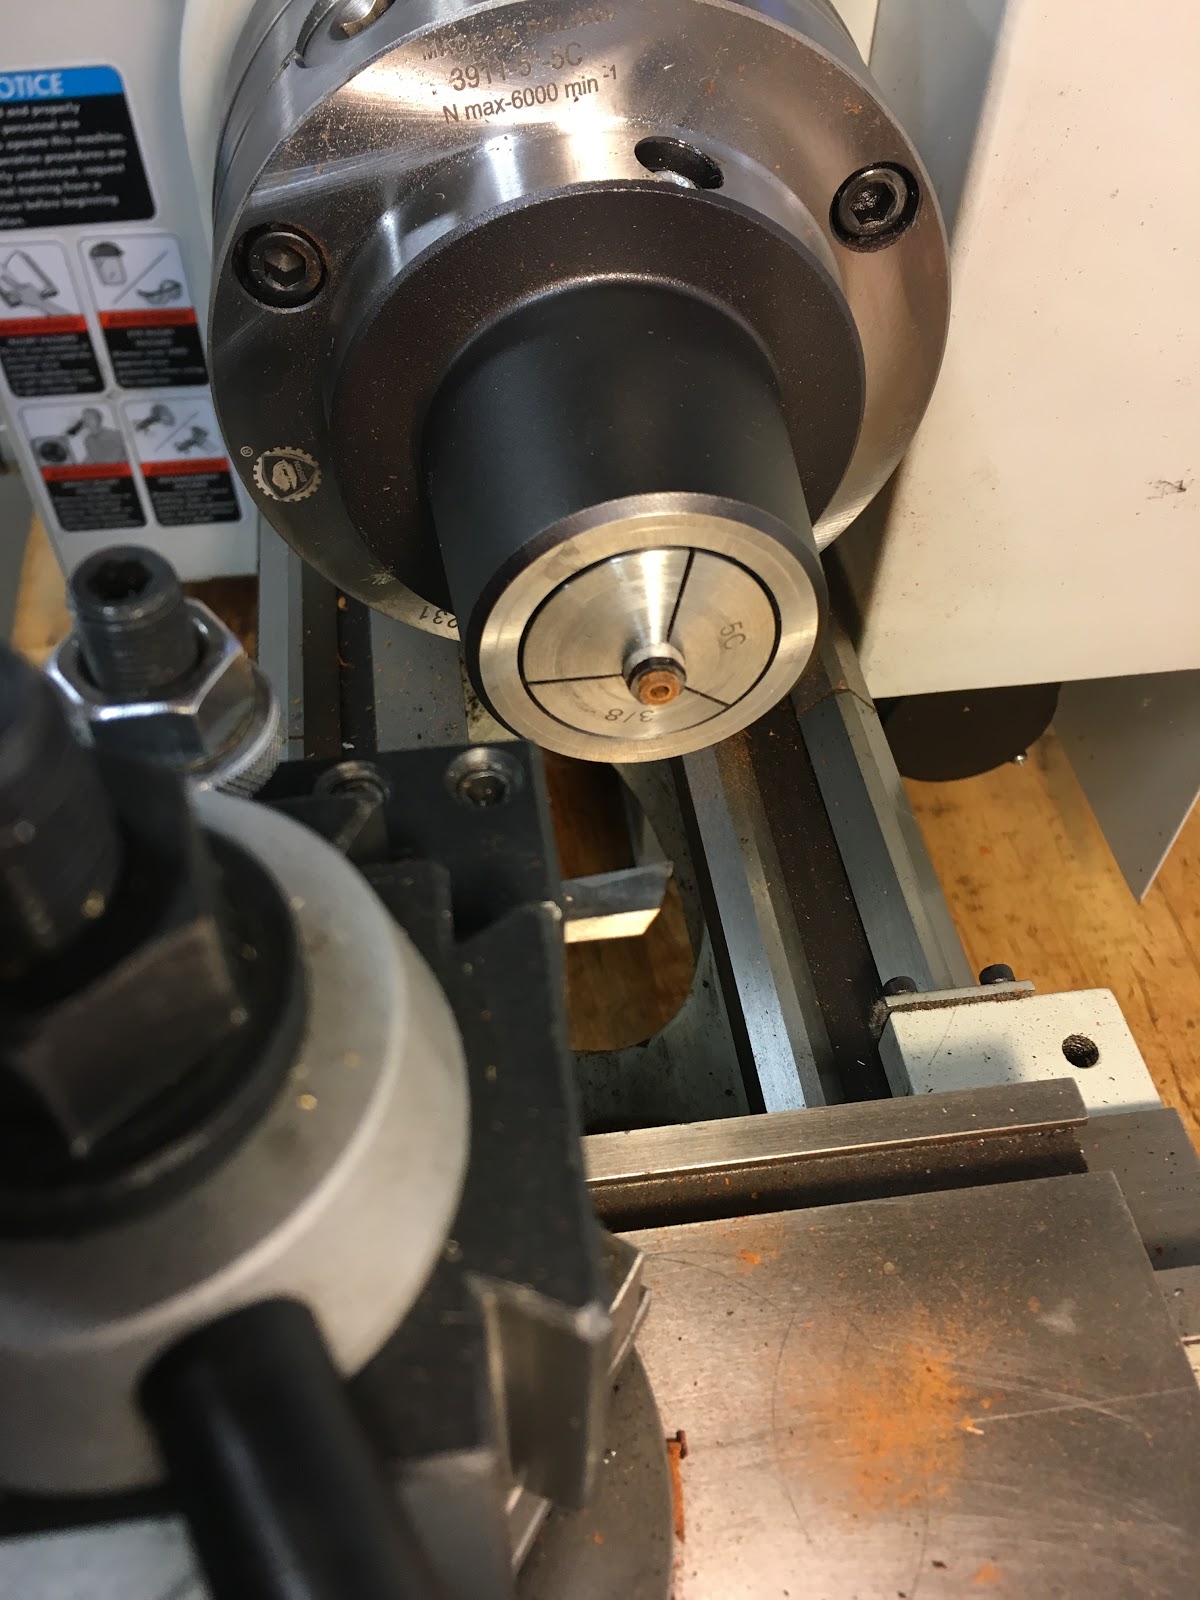
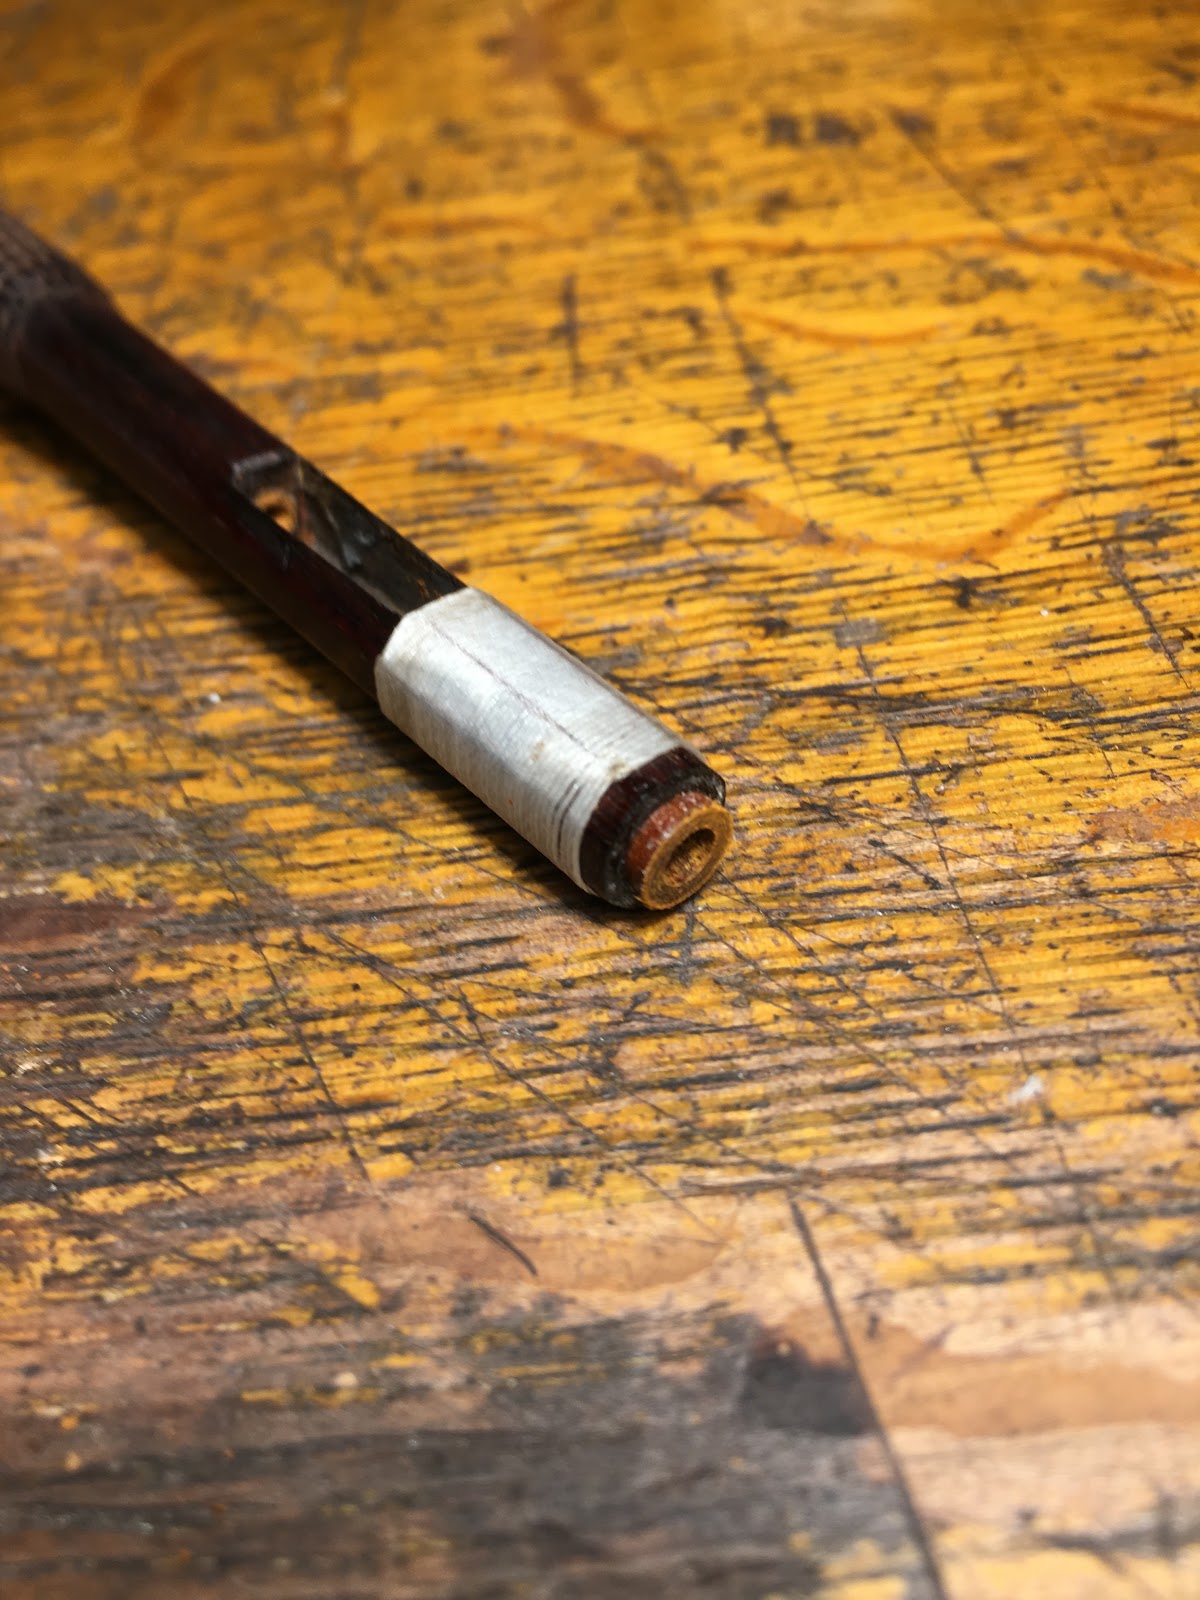
The lathe was used for the rear hole because of its accuracy and rigidity. Since this stick is quite square, collets could be used. On an old bow that might have excessive wear on the handle, an independent 4 jaw chuck would be the next best setup. In order to safely secure the stick in the lathe, a fine thread is wrapped around the end of the stick. A bow spinning in a lathe can vibrate a little, using foam disk with a slot in the end of the spindle is good way to secure the stick. The hole is then opened up to be the exact size of the nipple that the button will sit on. The other pernambuco dowel is glued in place, protruding from the end of the stick to form the new nipple.

Drilling Holes for the Screw
The new hole for the screw is drilled through the first dowel into the eyelet mortice. The lathe is used for this first hole and everything should be nicely centered. I feel most comfortable using the foret to drill the second hole for the front of the screw. The ability to see what you are doing through the mortice and given the tooling I’ve made for this operation, it is definitely the best option for the repair of this hole.
Forming the Nipple
Since the bushing is the exact size of the nipple recess on the button, there is very little cleaning up necessary. On this bow, I used the lathe to basically remove any residual glue and square up the nipple. The thread is then removed and the fresh pernambuco is dyed to match the rest of the stick.

Fitting the Frog
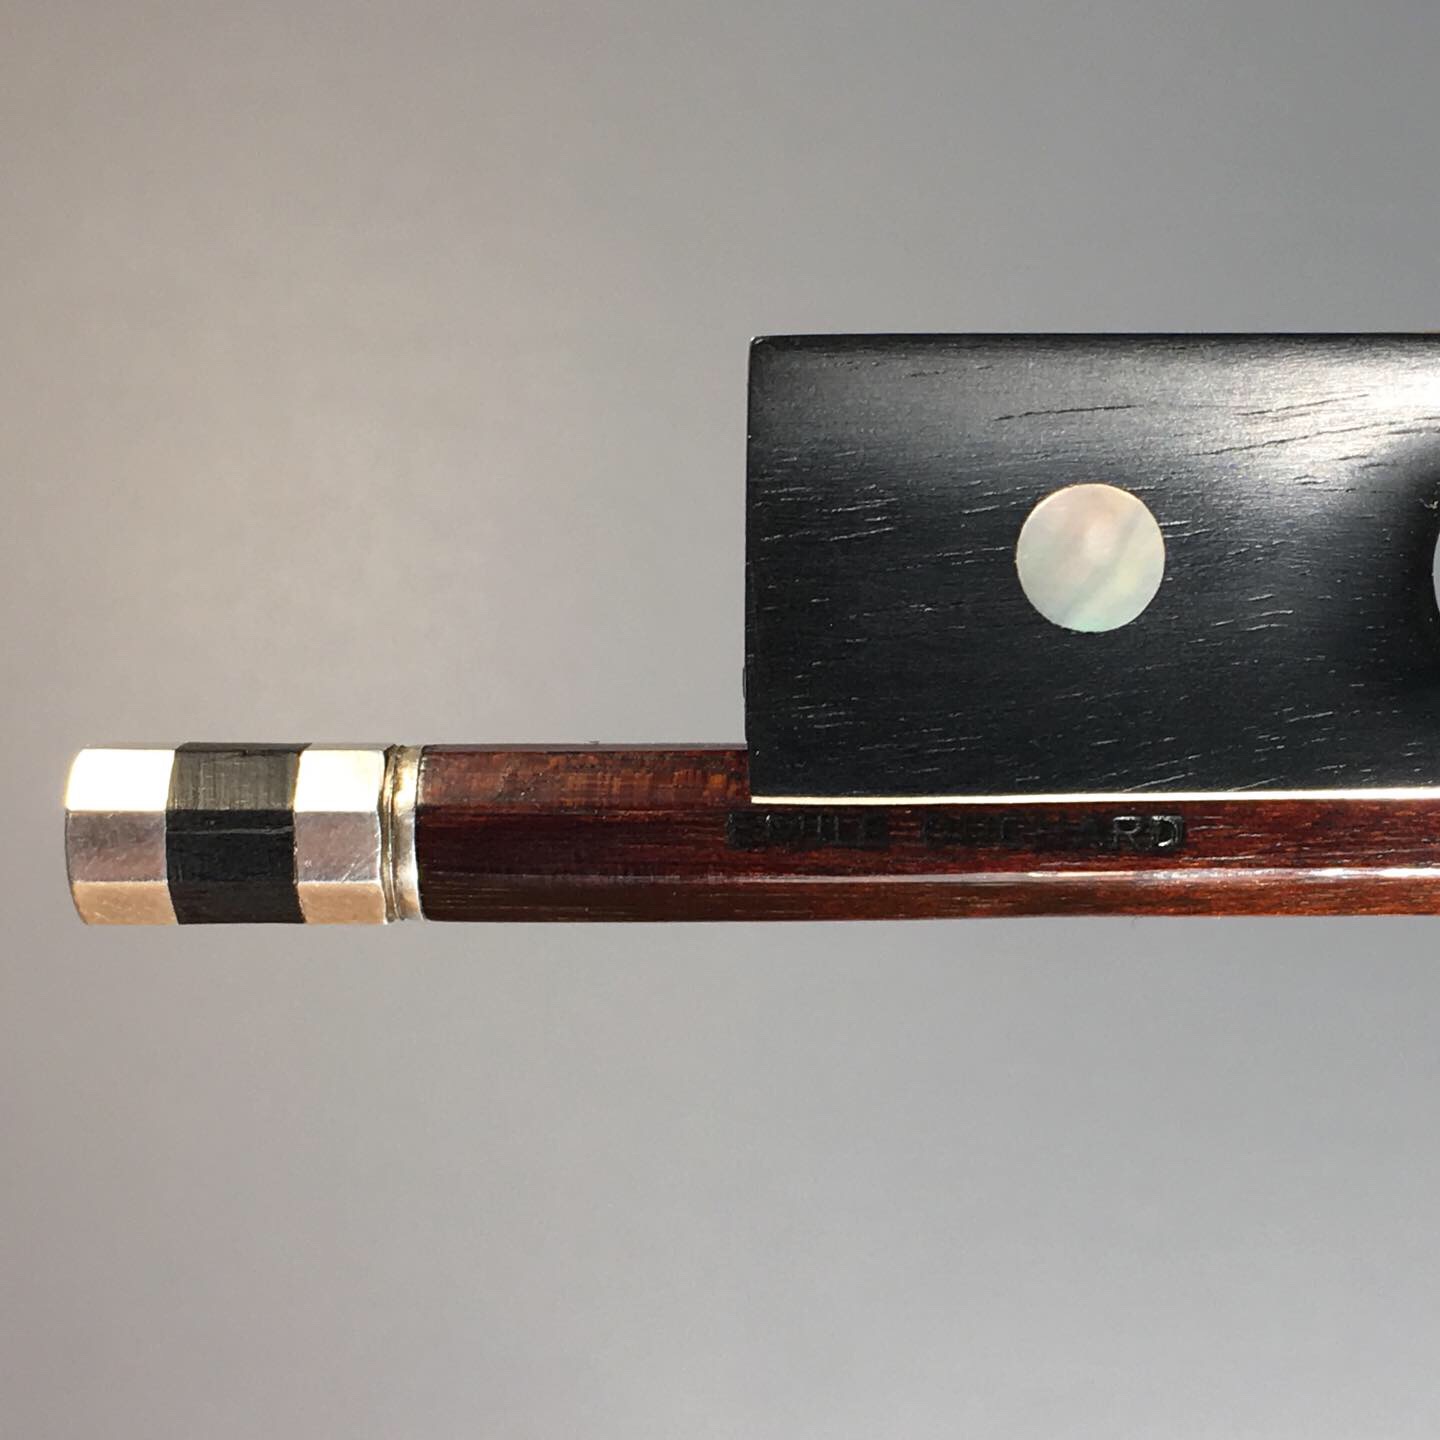
The eyelet of the frog is adjusted and the new screw and button fit perfectly.

Anthony – next time you have this repair to execute, you might consider the English (Hill) method of working, where the bow is never held in the headstock spindle/chuck. The tool is placed there. The bow stick goes in a vertical slide on the crosslide. Thus obeying the old cabinet maker’s rule of always hold the piece you’re working on and move the tool. The idea of putting a curved stick in the minimal internal bore of a headstock spindle seems bizarre – I’m surprised a South Bend lathe has such a sizing! I’ve done this repair more times than I care to remember; it’s a little rash to blame poor workmanship for worn screw holes, sometimes (due to the use of the French freehand bow maker’s foret) the hole/s aren’t drilled that accurately in the first place, and also lack of proper lubrication on the screw causes premature and rapid wear. And also, a few decades of professional playing don’t help, but that’s what we make them for, after all.
Thanks for recommendations. The method I used in this instance was one that many of the respected restorers here in the US use and am most comfortable with these procedures. When the bow is held in the chuck, the hole and nipple will be perfectly centered. The photos show the results and the bow functions properly. If the stick is not “square” or the octagon not “even” due to wear on manufacture, a different method will have to be employed for sure. Next time I have a stock bow that needs this type of repair, I will consider the Hill method. The bore on the Southbend is like 1.5″ (~38mm), it’s a wonderful little lathe. Regarding the conclusion of the workmanship, I know for a fact what happened to the bow. I did’t just want to come out and call anyone out on this forum. This bow is not old at all, it’s actually a modern bow and an awful attempt at an Ouchard copy that someone is trying to pass off as the real thing.