

I recently had a number of people interested in my button making process. The following is the basic process I use:
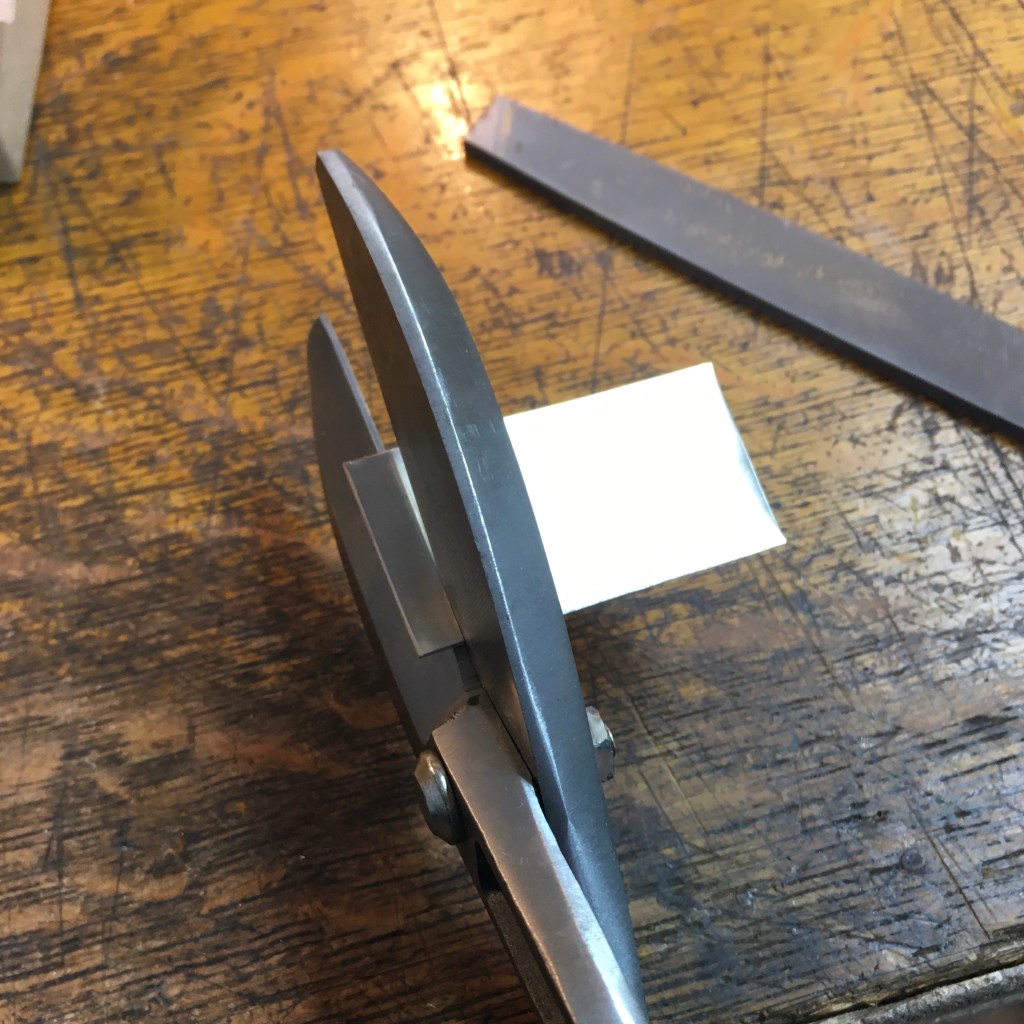
Sterling silver cut to width for the button rings using large sheet metal sheers.
The silver strips are bent into a tear drop shape. Then bent so that the ends meet.

The rings are wrapped with binding wire, suspended, and soldered with a jewelers torch.
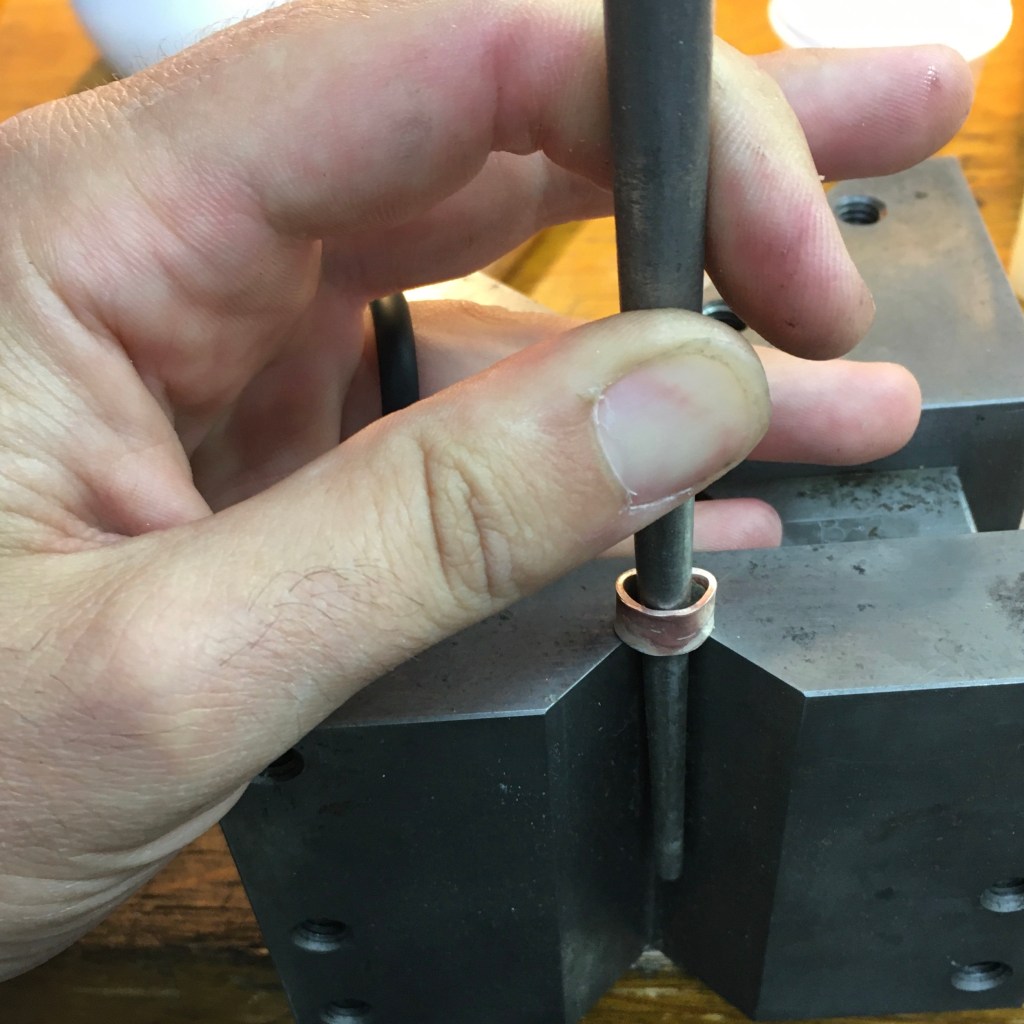
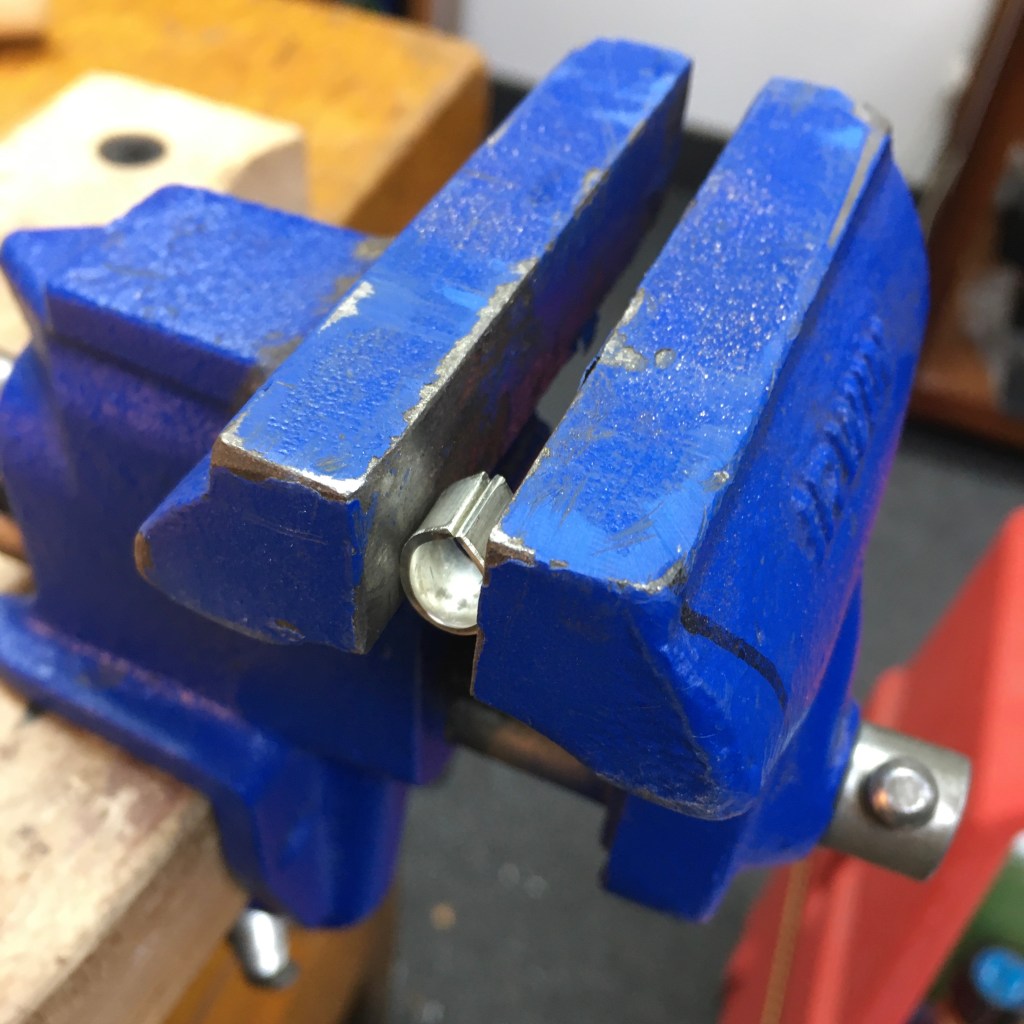
Using a mandrel and large V-block, the ring is formed to shape and size.

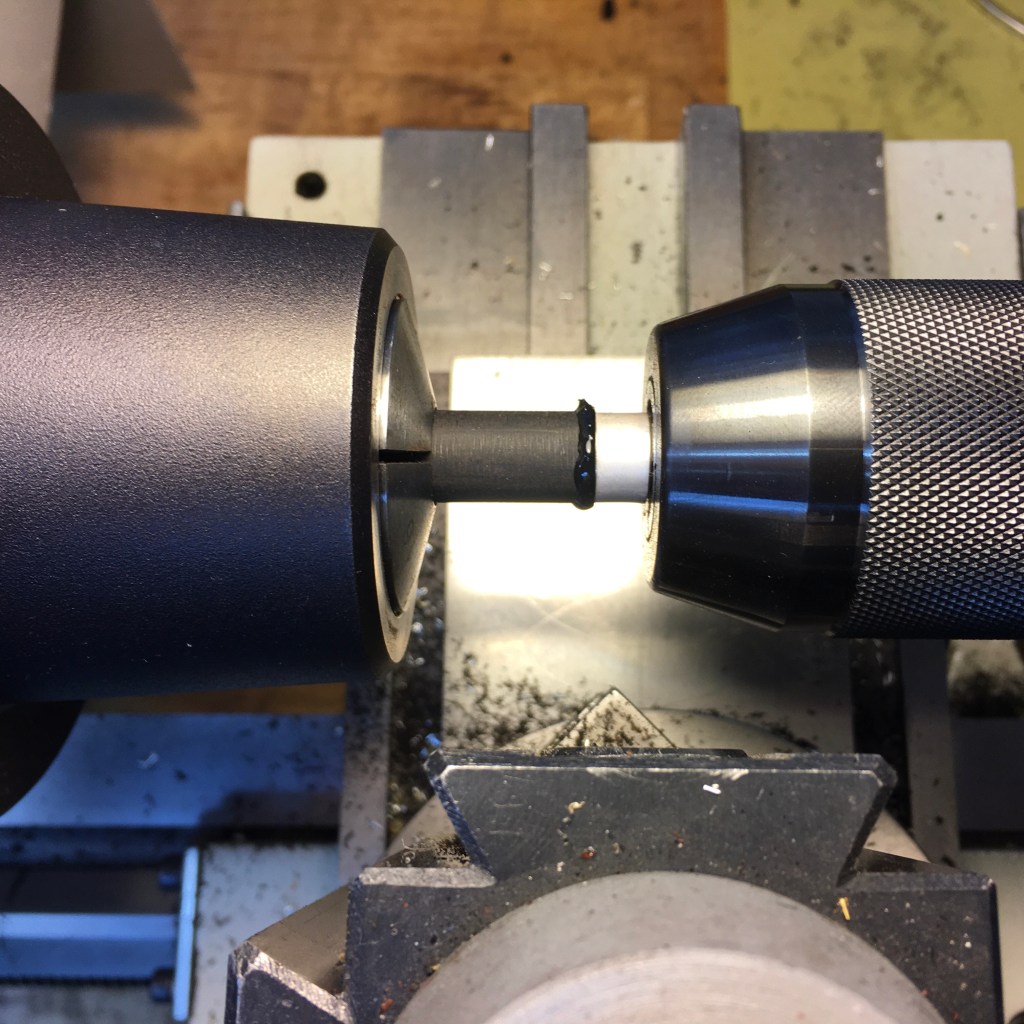
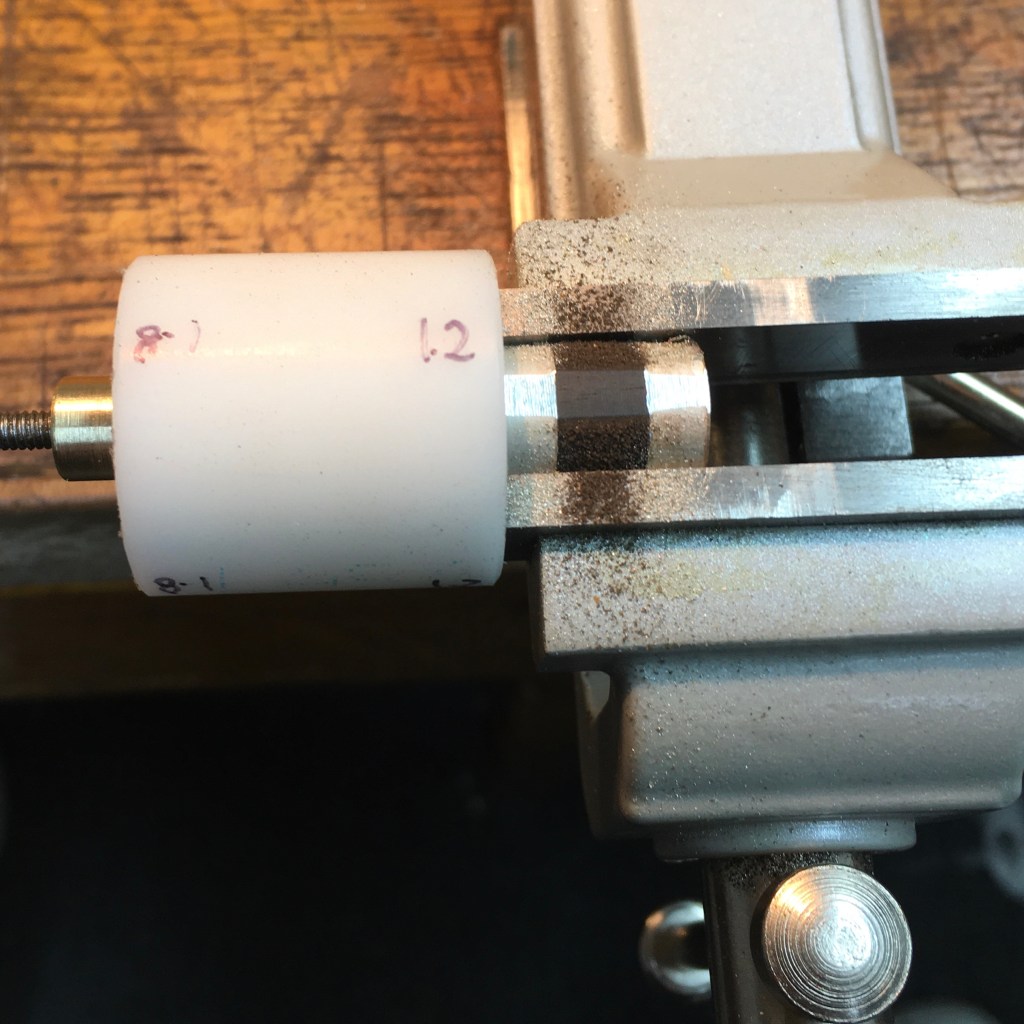
The ends of the rings are squared up in the lathe using a shop made expanding collet.

The ends are lightly lapped and a small chamfer is added to the interior edge of the rings with a knife. The interior of the rings are measured and properly identified.
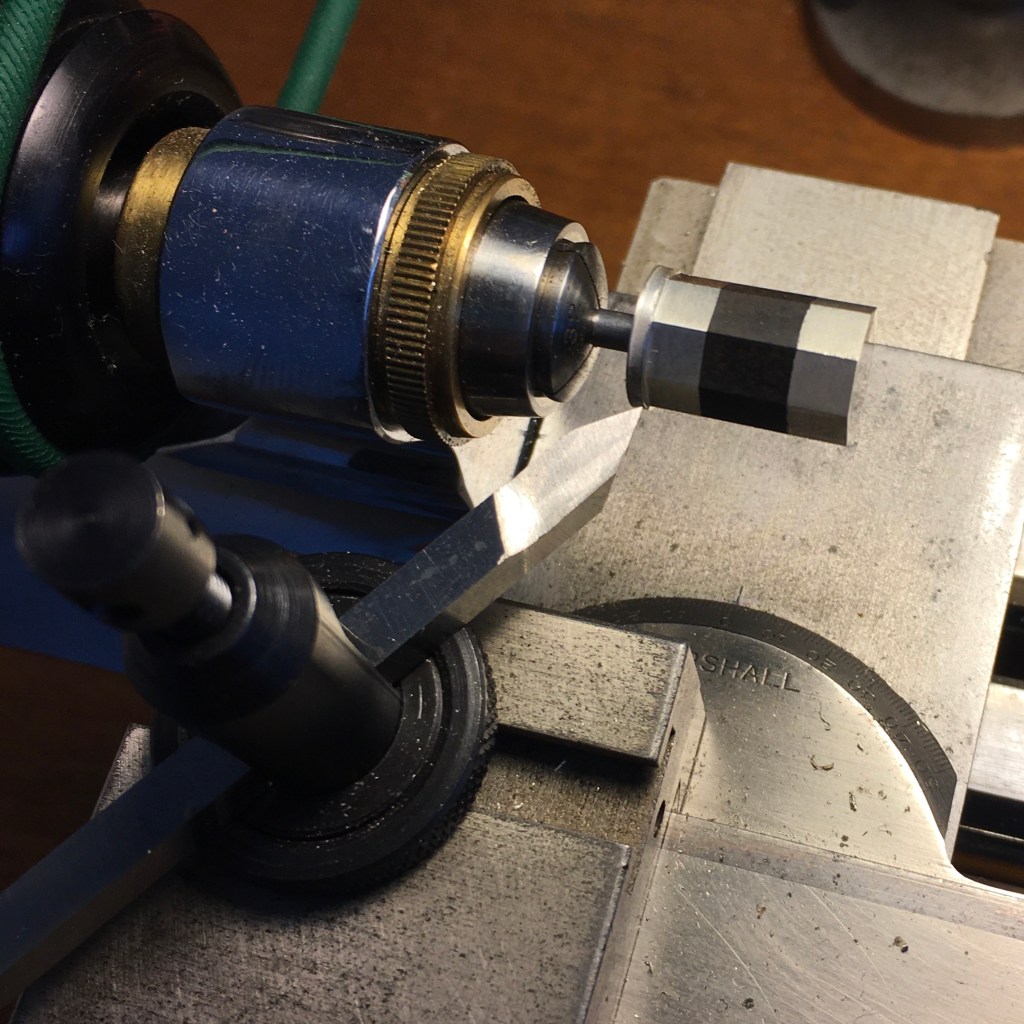
An ebony dowel is selected and turn to fit the internal diameter of the front ring.

An end mill is used to create a recess for the nipple.

The hole for the screw is started with a center drill and followed with a twist drill that is slightly undersized.

The tailstock is used to align and press fit the screw.

The button is parted off, flipped, and turned to fit the back ring. The end is prepared for the pearl eye.

Glue is used to secure the screw and pearl eye in place.
A shop made collar guard is used and a rough octagon is filed.

Pins are installed and the octagon is cleaned up with a fine cut file.
The collar is cut in the jewelers lathe and finish with a hand graver.

Finished and Polished Button

Two ideas learnt from hard experience (and William Retford). First, always cut the moulding (= collar) on the tubing before you install it on the ebony core; that way you won’t risk heating up the glue joint and expanding the silver ring as you attempt to turn it afterwards (the lathe and graver do hard work, there’s a lot of material being removed) with the result that the ring loosens on the core. It’s bad practice not to hold the material you are working on, and the resulting slight bending of the screw results in chatter marks on the work. Second, always make your own screws (bought in ones are often poor metal, an insult to your fine work, and usually the wrong thread anyway) and thread the tip (= button) core onto the screw; if you have a lathe it’s easily done. Otherwise with good sticks the square-ended type screw will pull out of the tip one day. If you must use squared screws, at least file notches in the square’s ‘corners’ so that the glue can ‘bite’. The French taper their squared screw tails and an oversize (so it doesn’t split) core goes on early, being turned concentric with the screw after – all done for economy and speed.
This article covers the basic process I use and not every little detail or variation that I do depending on what I feel comfortable with when doing a particular model. While the screws I get are of good quality, many times I make my own screws of 12L14 as well as thread the ends (I did notch the square end this time). While I totally agree that it is not the best machining practice, I get good results turning the collar after the fact. I don’t get chatter on my collars, proper sharpening and angles on the lathe bit make a huge difference. Of all the bow parts, I find that the button making processes has the most variation from maker to maker. I’ve made buttons the way you described but I’m happy with what I do. The end result done with efficiency and repeatability is what really matters. As always, thanks for sharing your thoughts!